بهترین تنظیمات دوربین Sony A6300-A6500 برای فیلمبرداری
آگوست 29, 2019
3175
بدون دیدگاه


You must need to login..!
یکی از مهمترین ویژگی های دوربین های پیشرفته بدون آینه مانند Sony a6500 سونی ، امکان تغییر مشخصات تصویر دوربین در پرواز است. این ویژگی به شما امکان می دهد تا ویژگی های اصلی تصویر گرفته شده مانند گاما ، حالت رنگ ، اشباع ، سطح سیاه و غیره را کنترل کنید با استفاده از این پارامترهای اساسی ، می توانید به سرعت تصویری اشباع مسطح را برای حداکثر انعطاف پذیری در پست بدست آورید. یا در مواردی که عجله دارید و یا فقط باید با مهلت محکم مقابله کنید ، با نگاهی کاملتر شماره گیری کنید.
با وجود همه ترکیبات ممکن پروفایل پروفایل در آنجا ، به راحتی می توانید در حین تلاش برای مرتب کردن تنظیمات بهینه دوربین برای کار ، مرعوب شوید. در این مورد خاص ، فیلمساز Sidney Diongzon آنچه را که وی معتقد است بهترین نمایه سونی A6500 سونی است و چگونگی دستیابی به یک فیلم سینمایی تر در چند مرحله آسان ، به نمایش می گذارد.
برای این نمایه تصویر سفارشی ، Diongzon از مشخصات Custom Picture Profile 8. برای بارگذاری پروفایل در Sony A6500 خود ، ابتدا به منوی اصلی دسترسی پیدا کرده و در زیر برگه اول ، به صفحه یازده بروید که در آن می توانید نمایه تصویر را پیدا کنید. تنظیمات. از آنجا ، از دکمه های ناوبری استفاده کنید تا به پایین PP8 بروید.
در مرحله بعد ، مطبوعات Enter و در زیر گاما تنظیمات را از S-Log 3 به Cine4 تغییر دهید. در آخر ، به تنظیمات تصویر پروفایل برگردید و حالت رنگ را روی Pro قرار دهید.
همانطور که از عکس های تست سیدنی می بینید ، مشخصات تصویر تعادل بین یک رنگ از پیش تعیین شده معمولی را نشان می دهد اما هنوز هم جایی برای درجه بندی رنگ در پست ارائه می دهد. بدیهی است ، اگر می خواهید درجه بندی رنگی پیشرفته پس از تولید را انجام دهید ، این ممکن است بهترین دوربین برای دوربین نباشد زیرا می خواهید تصویری بسیار مسطح تر داشته باشید.
One of the most powerful features of advanced mirrorless cameras such as the Sony a6500 is the ability to change the camera’s picture profile on the fly. This asset gives you control over the main characteristics of the captured image such as gamma, color mode, saturation, black levels, etc. By tweaking these essential parameters, you’ll be able to quickly get a flat desaturated image for maximum flexibility in post or dial in a more finished look on occasions when you’re in a hurry or just need to deal with a tight deadline.
With all the possible picture profile combinations out there, however, one can easily get intimidated while trying to sort out the optimal camera settings for the job. In this particular case, filmmaker Sidney Diongzon showcases what he believes is the best picture profile for the Sony A6500 and how to get a more cinematic look in a few easy steps.
For this custom picture profile, Diongzon utilizes the Custom Picture Profile 8. To load the profile on your Sony A6500, first access the main menu and under the first tab, head over to page eleven where you’ll be able to find the Picture Profile setting. From there, use the navigation buttons to scroll down to PP8.
Next, press Enter and under Gamma change the setting from S-Log 3 to Cine4. Finally, go back into the profile picture settings and set the color mode to Pro.
As you can see from the test shots Sidney provided, the picture profile strikes a balance between a typical color preset but still offers some room for color grading in post. Obviously, if you are planning to do some sophisticated post-production color grading, this may not be the best setting for the camera since you’ll want a much flatter image.
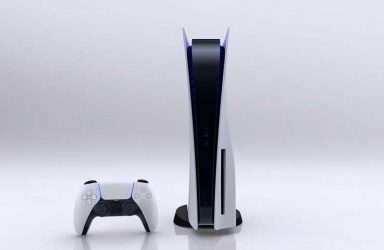
معرفی پلی استیشن 5 به همراه ویدیو و عکس (playstation5) پلی استیشن 5 کنسول بازی نسل نهمی سونی است که دارای ویژگیهایی چون پشتیبانی از SSD است. تاکنون بازی�
آموزش ایجاد افکت نوارهای VHS رو ویدیو در Premiere برای دانلود آموزش ایجاد افکت نوارهای VHS رو ویدیو در Premiere با کیفیت full hd 1080p از پلیر سایت یا لینک زیر
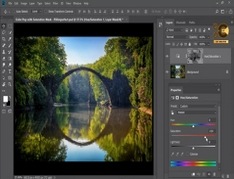
طریقه کار کردن با Mask و Saturation در photoshop(فتوشاپ) برای دانلود آموزش طریقه کار کردن با Mask و Saturation در photoshop(فتوشاپ) با کیفیت full hd 1080p از لینک زیر یا پلیر س
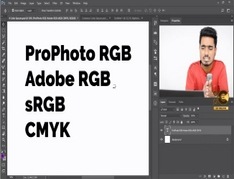
توضیحاتی درباره سیستم رنگی RGB , sRGB , CMYK و… برای دانلود آموزش توضیحاتی درباره سیستم رنگی RGB , sRGB , CMYK و… با کیفیت full hd 1080p از لینک زیر یا پلیر سایت اس�
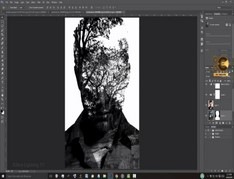
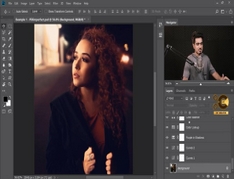
آموزش خلق پوستر حرفه ای از پرتره در photoshop برای دانلود رایگان آموزش خلق پوستر حرفه ای از پرتره در photoshop با کیفیت full hd 1080p از پلیر سایت یا لینک زیر ا�
از تنظیمات پیشرفته فتوشاپ در Lightroom استفاده کنید برای دانلود آموزش از تنظیمات پیشرفته فتوشاپ در Lightroom استفاده کنید! با کیفیت full hd 1080p از لینک زیر �